⚡ Key Takeaways

TEAIERXY 4 Inch 8FT Dryer Vent Hose,Flexible Insulated Air Ducting,Vent Hose PVC Aluminum Foil with 2 Clamps for HVAC Ventilation(Grey)
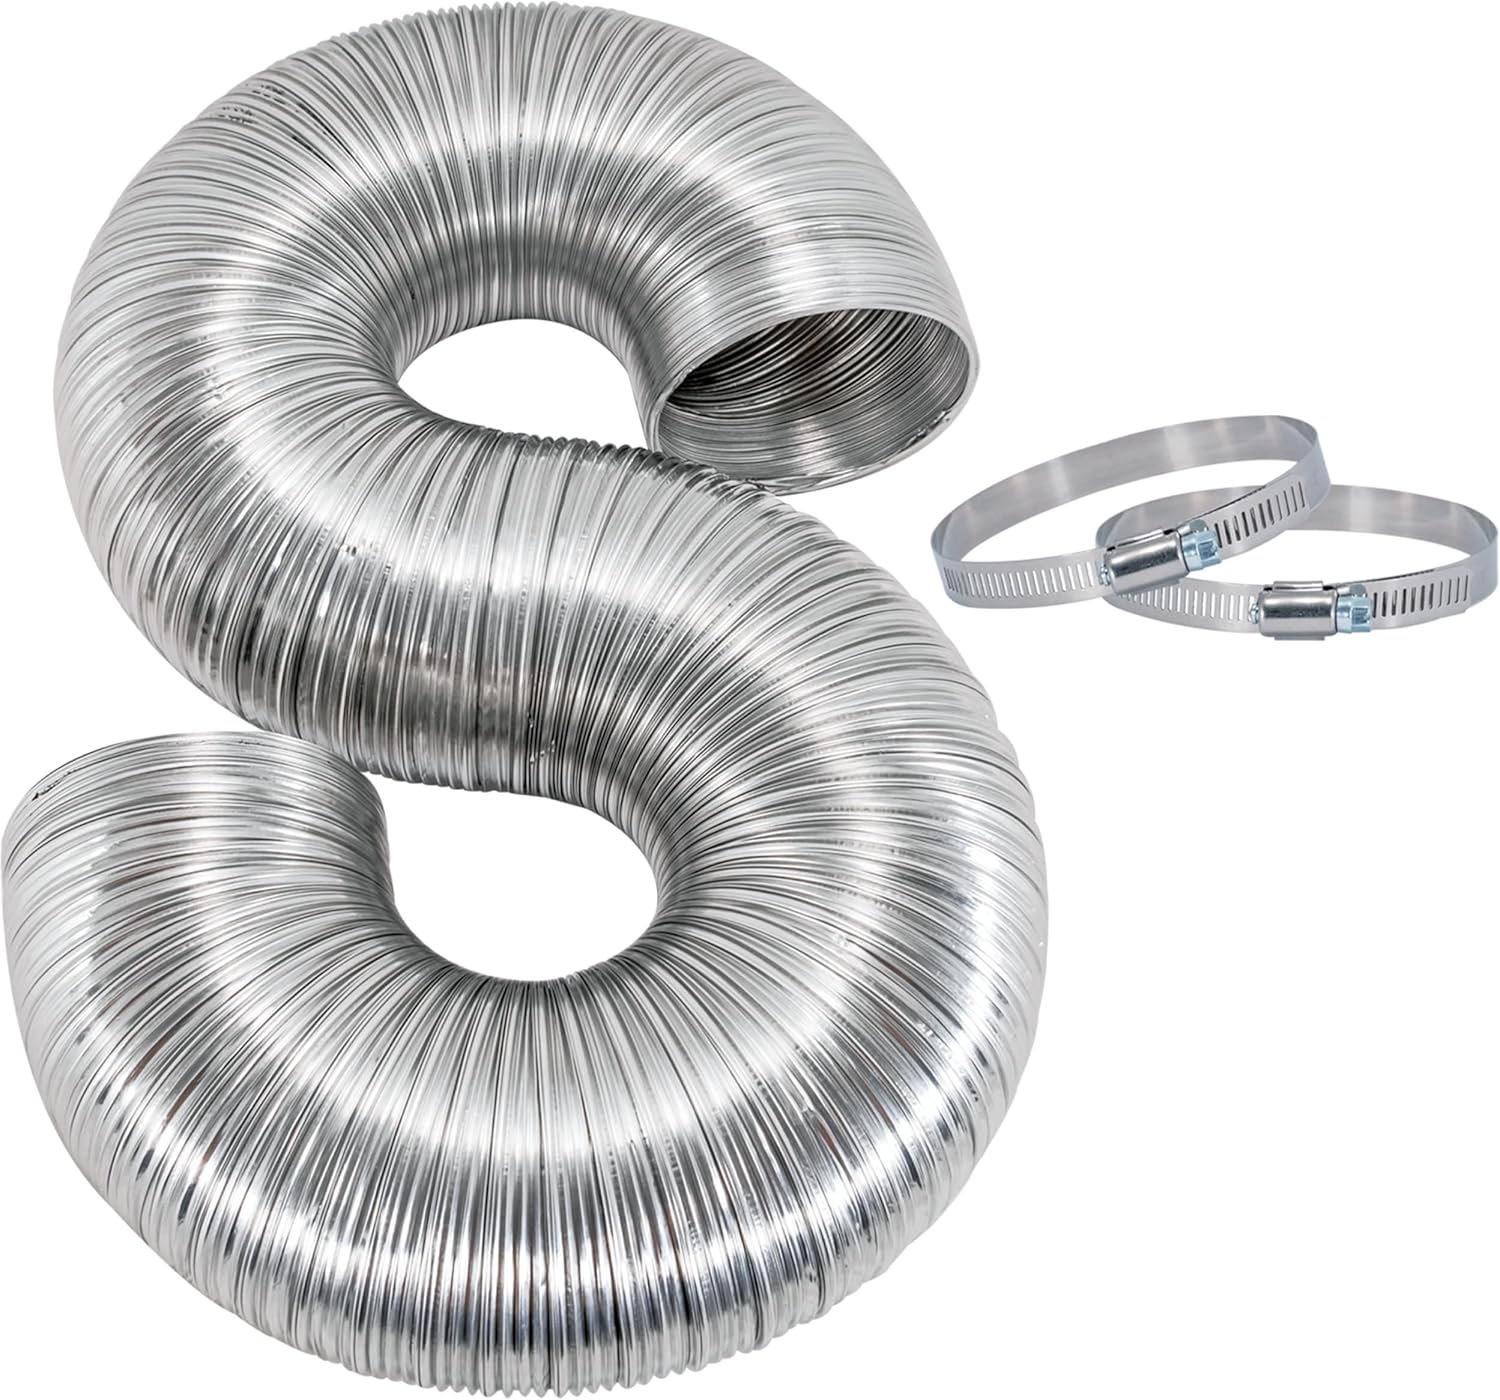
Eastman 8 Foot ArmorFlex Dryer Vent, Flexible Aluminum Duct with Clamps, Semi-Rigid, 69028
- Every load of laundry sheds lint, and while the lint trap catches most of it, fine particles escape into the vent duct.
- The type of hose you use makes a big difference.
- Clean your dryer vent at least once a year.
- Dryer vents are just one part of your home's ventilation.
A clogged dryer vent is more than an efficiency nuisance—it’s one of the leading causes of home fires in the United States, responsible for thousands of incidents each year. The good news is that learning how to clean a dryer vent is a straightforward weekend task you can do with basic tools. This step-by-step guide walks you through the entire process, from disconnecting the dryer to clearing the exterior vent, so you can protect your home and help your dryer run faster and cooler.
Why Dryer Vent Cleaning Matters
Every load of laundry sheds lint, and while the lint trap catches most of it, fine particles escape into the vent duct. Over time this lint accumulates, restricting airflow. The result is longer drying times, an overheating dryer, higher energy bills, and a serious fire risk. The U.S. Fire Administration attributes a large share of dryer fires to a simple failure to clean the vent. Cleaning at least once a year dramatically reduces that danger.
Warning signs your vent is clogged
Clothes that take more than one cycle to dry, a dryer that feels unusually hot to the touch, a burning smell during operation, or visible lint around the exterior vent flap all point to a blocked duct. Don’t ignore these signals.
Tools and Supplies You’ll Need
| Item | Purpose |
|---|---|
| Dryer vent cleaning brush kit | Reaching deep into the duct |
| Vacuum with hose attachment | Removing loosened lint |
| Screwdriver | Loosening clamps and the vent cover |
| Soft cloth | Wiping surfaces clean |
| Dust mask and gloves | Protecting yourself from lint |
How to Clean a Dryer Vent: Step by Step
- Unplug the dryer. For electric models, pull the plug. For gas dryers, turn off the gas supply valve as well before moving the unit. Safety comes first.
- Pull the dryer away from the wall. Slide it out far enough to access the vent connection behind it. Work carefully to avoid kinking the hose or straining the gas line.
- Disconnect the vent hose. Loosen the clamp holding the flexible hose to the dryer’s exhaust port and to the wall duct. Set the hose aside.
- Vacuum the lint from both openings. Use the hose attachment to clear lint from the dryer’s exhaust port and the wall duct opening. This is usually where the heaviest buildup hides.
- Clean the hose itself. Run the brush through the flexible hose to dislodge trapped lint, then vacuum it out. If the hose is crushed, cracked, or excessively kinked, replace it.
- Brush the wall duct. Feed the flexible brush rods into the wall duct, rotating as you push, to scrub the interior walls and break up lint all the way to the exterior.
- Clean the exterior vent. Go outside, open or remove the exterior vent cover, and clear away any lint blocking the flap. Make sure the flap moves freely.
- Reconnect everything. Reattach the hose to both the dryer and the wall duct, tighten the clamps, and confirm the connections are secure with no gaps.
- Test the dryer. Push the dryer back, restore power (and gas), and run a short cycle. Check outside to confirm strong airflow from the exterior vent.
Choosing the Right Vent Hose
The type of hose you use makes a big difference. Avoid plastic or foil accordion-style hoses, which sag and trap lint in their ridges. A semi-rigid or smooth aluminum dryer vent hose allows lint to pass through more freely and resists crushing, which means safer operation and easier future cleanings. Keep the hose run as short and straight as possible.
Why hose material matters for safety
Smooth metal ducting is the safest choice because it’s noncombustible and doesn’t snag lint the way ribbed plastic does. Replacing an old foil hose during your cleaning is a small upgrade with a big safety payoff.
How Often Should You Clean It?
Clean your dryer vent at least once a year. If you do frequent laundry, dry pet bedding, or have a long vent run, cleaning every six months is wiser. Always clean the lint trap after every single load—that’s your first and easiest line of defense.
While You’re Thinking About Home Airflow
Dryer vents are just one part of your home’s ventilation. If you’re tackling exhaust ducts, it’s a good time to consider your overall HVAC airflow. Upgrading to better air vent covers on your supply registers and improving weak rooms with a register booster fan can make your whole home more comfortable. For the heating and cooling ducts themselves, our DIY duct cleaning guide covers the basics.
Maintaining the Lint Trap and Filter
The vent duct is only half the system—the lint trap inside the dryer is your daily defense. Clean it after every single load, not just when it looks full. Over time, dryer sheets and fabric softener leave an invisible waxy film on the mesh screen that restricts airflow even when the trap looks clean. Test for this by pouring water into the trap; if the water pools instead of draining through, scrub the screen with warm soapy water and a soft brush, then let it dry fully before reinstalling. Doing this every few months keeps air flowing freely and reduces strain on the dryer.
Also vacuum out the lint trap housing—the slot the trap slides into—periodically. Lint slips past the edges of the screen and collects down in the cavity, where it can build into a fire hazard. A narrow vacuum attachment or a dedicated lint brush reaches into the slot and pulls out what the screen misses.
Optimizing Your Vent Run for Safety
The path your exhaust takes from the dryer to the outdoors affects both safety and performance. The ideal run is short and straight with as few bends as possible, because every elbow and length of hose creates resistance where lint collects. If your dryer sits far from an exterior wall, or the duct snakes through several turns, lint accumulates faster and cleaning becomes more important. Keep the flexible transition hose behind the dryer as short as practical, avoid crushing it against the wall when you push the dryer back, and make sure the exterior vent flap opens freely and is screened against birds and rodents without using a lint-trapping mesh that clogs.
| Vent Feature | Safer Choice |
|---|---|
| Hose material | Smooth or semi-rigid metal |
| Run length | As short as possible |
| Bends | Minimize sharp turns |
| Exterior cover | Free-moving flap, no mesh screen |
When to Call a Professional
If your vent run is very long, travels through the roof, or you can’t locate the exterior termination, a professional has the specialized rods and vacuums to do the job safely. Birds or rodents nesting in the vent are also a reason to bring in help. Otherwise, most homeowners can handle annual cleaning themselves.
Frequently Asked Questions
How do I know if my dryer vent needs cleaning?
Long drying times, a hot dryer exterior, a burning smell, or lint around the outside vent flap all signal a clog. If clothes take more than one cycle to dry, clean the vent right away.
How often should I clean my dryer vent?
At least once a year for most households, or every six months with heavy use or a long vent run. Always clean the lint trap after every load to slow buildup.
Can a clogged dryer vent really cause a fire?
Yes. Lint is highly flammable, and restricted airflow causes the dryer to overheat. Clogged vents are a leading cause of dryer fires, which is why annual cleaning is essential.
What kind of dryer vent hose is safest?
Smooth or semi-rigid aluminum hoses are safest because they’re noncombustible and don’t trap lint like ribbed foil or plastic. Keep the run short and avoid sharp bends.
Do I need special tools to clean a dryer vent?
A dryer vent brush kit and a vacuum with a hose attachment handle most jobs. The flexible rods let you reach deep into the duct and clear the exterior vent.
Conclusion
Knowing how to clean a dryer vent is one of the most valuable home-safety skills you can learn. Disconnect the dryer, vacuum and brush the hose and wall duct, clear the exterior flap, and reconnect everything securely. Replace old foil hoses with smooth metal ducting, clean at least once a year, and empty the lint trap every load. These simple habits cut your fire risk, lower drying times, and keep your dryer running efficiently for years.
Top picks from this guide
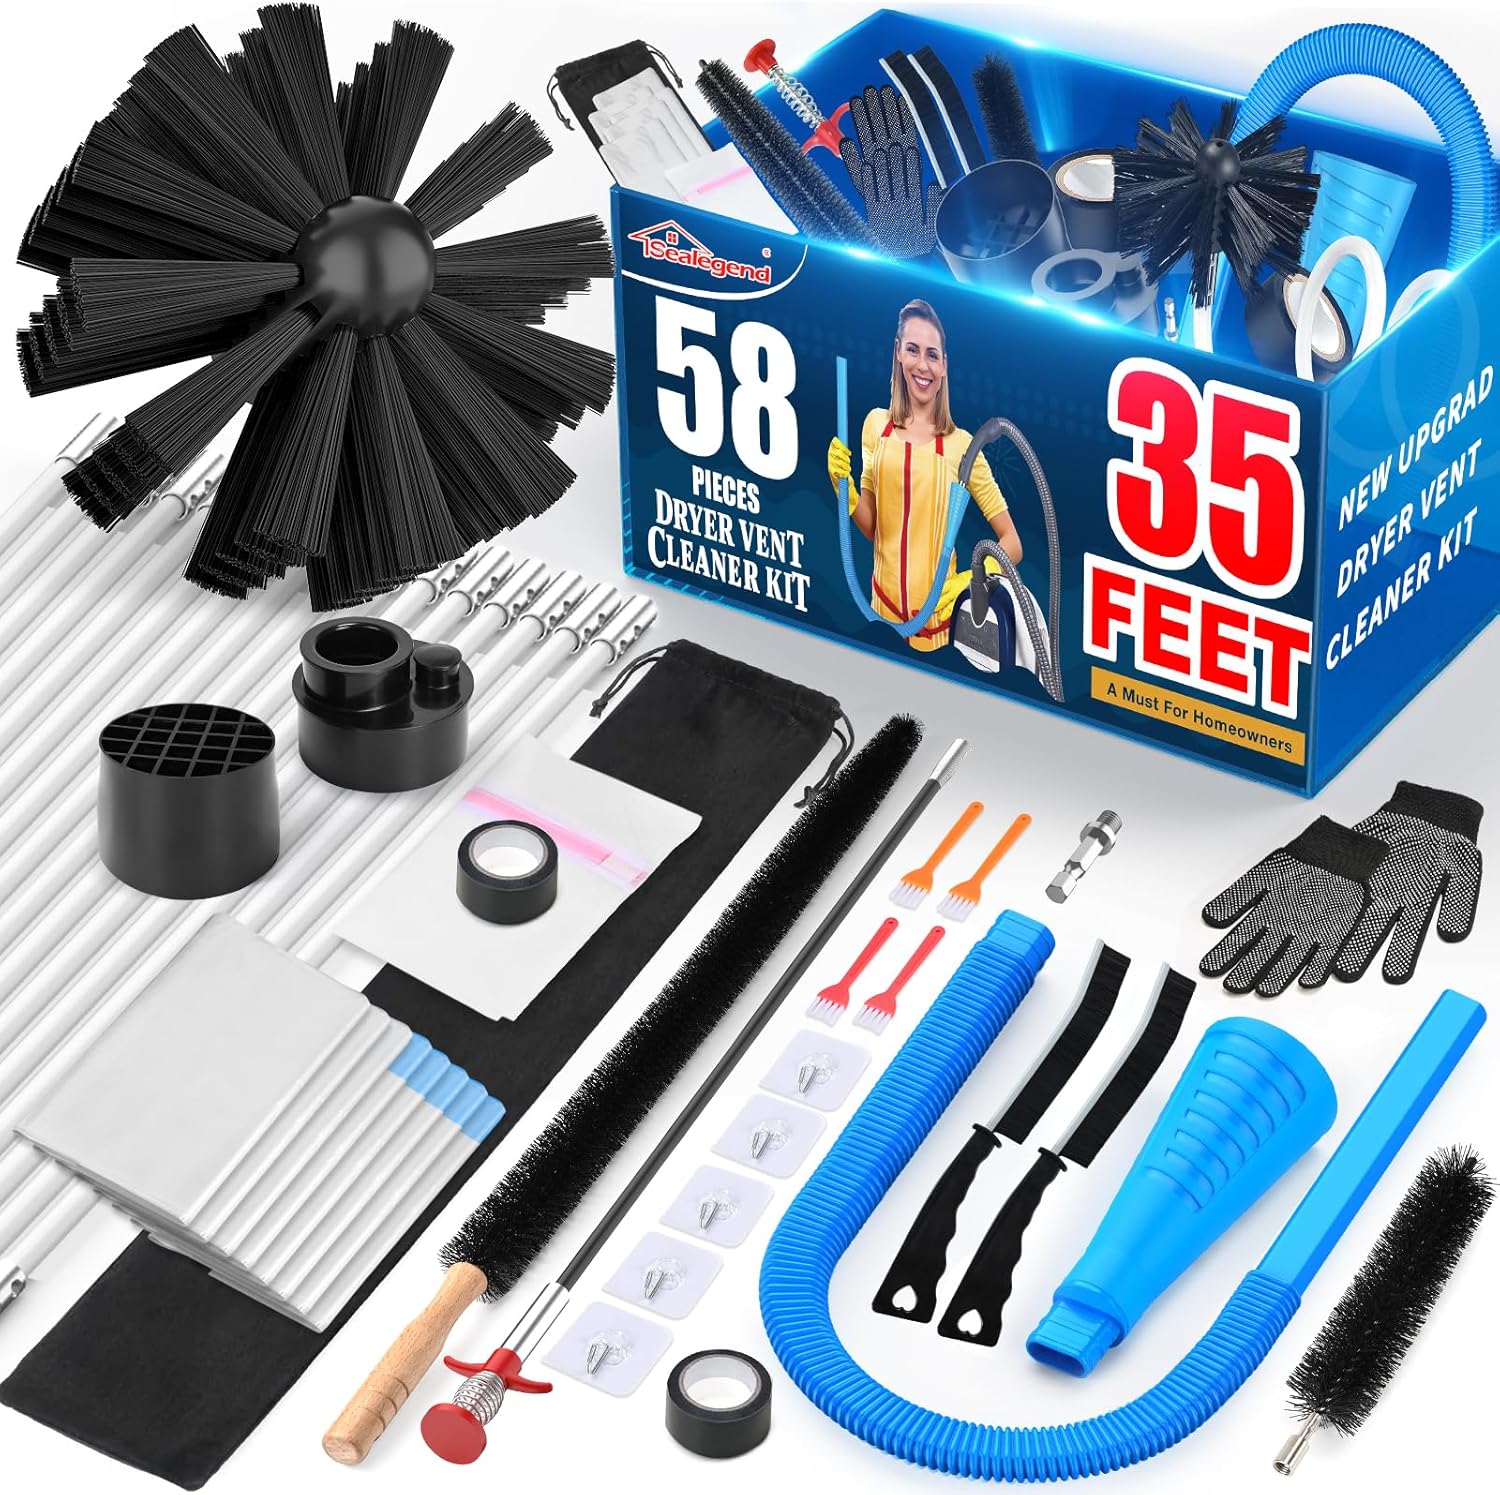 SealegendSealegend 58-Pieces 35-Feet Dryer Vent Cleaner Kit, Dryer Cleaning Tools,…$28 \xc2\xb7 98/100TEAIERXYTEAIERXY 4 Inch 8FT Dryer Vent Hose,Flexible Insulated Air Ducting,Vent…$9 \xc2\xb7 98/100
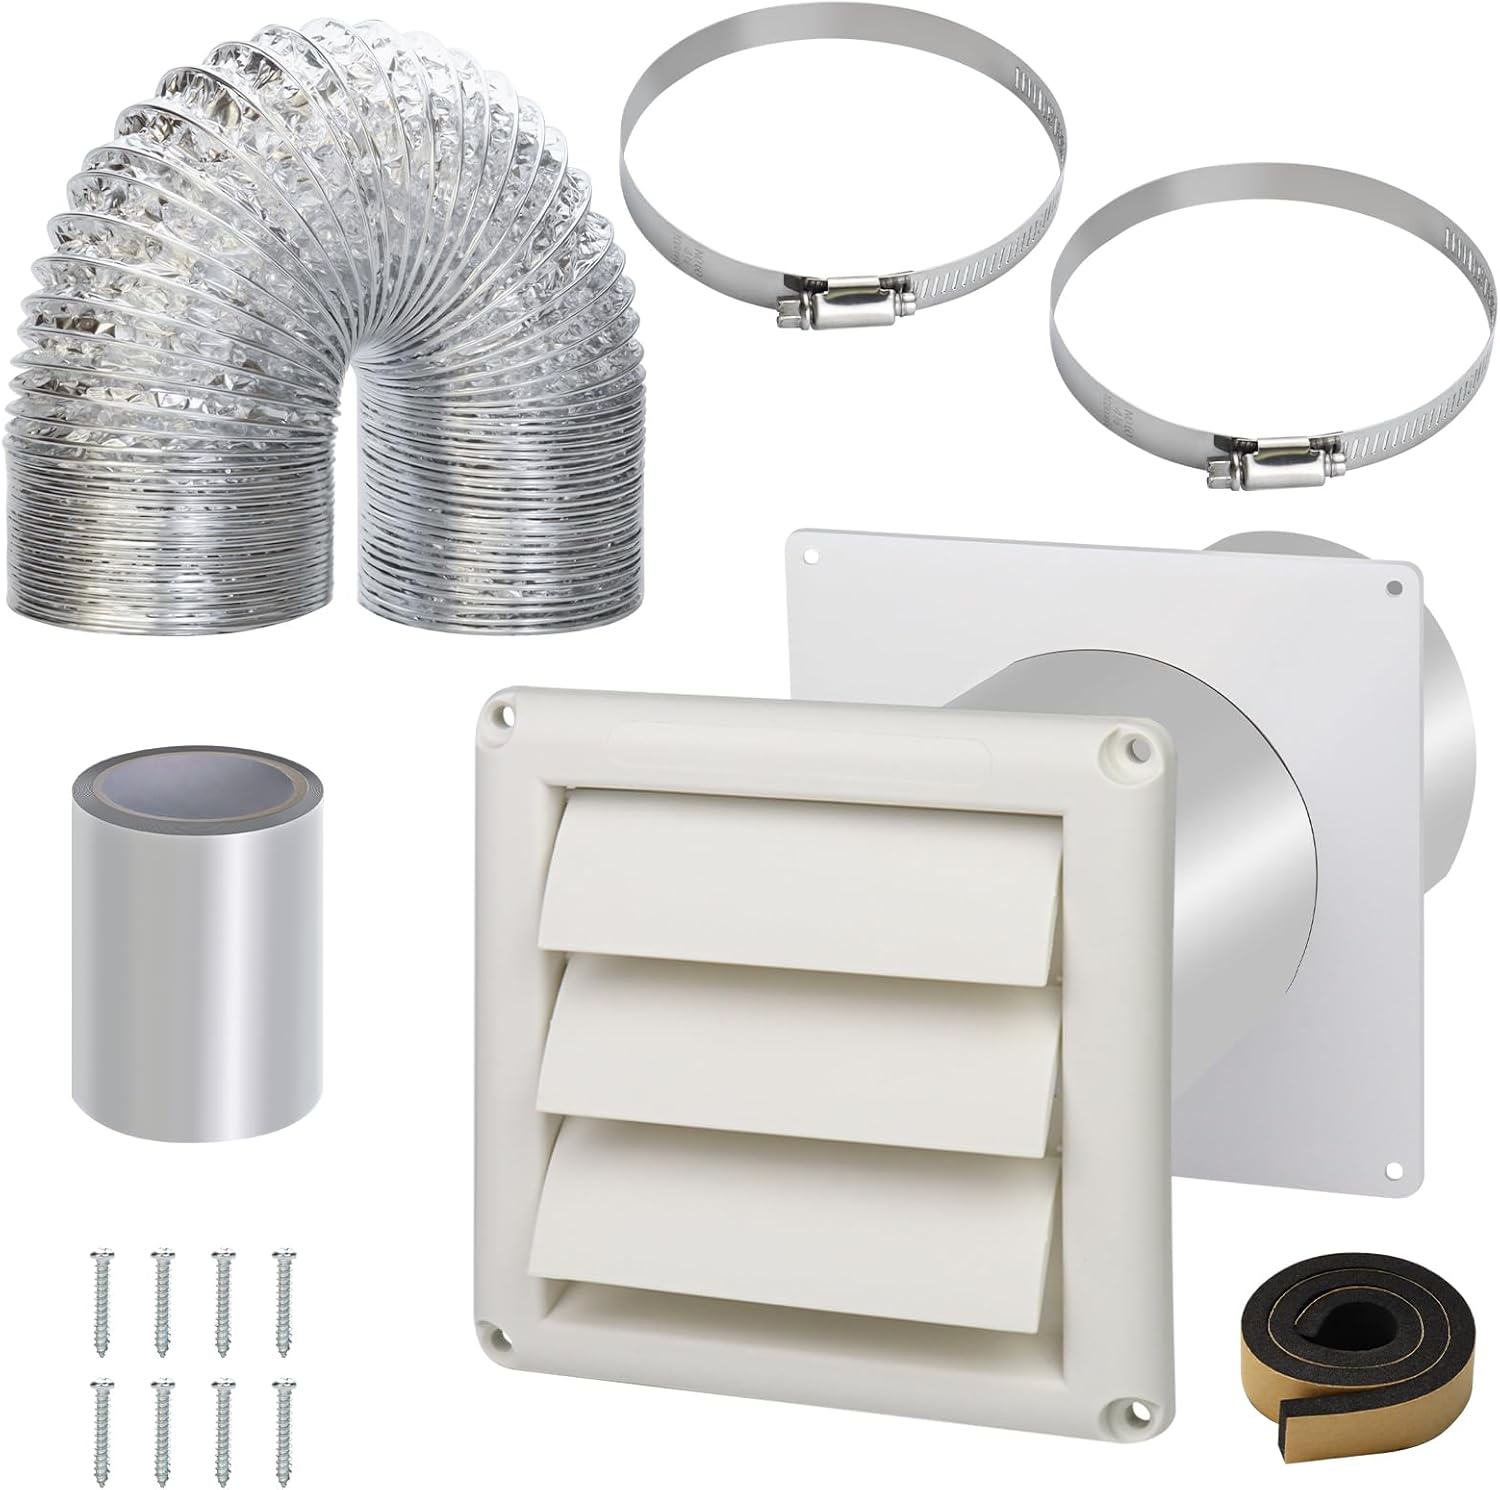 JIANBENKJDryer Vent Kit with Hose/Duct Connector/Wall Plate,4 Inch Dryer Vent…$26 \xc2\xb7 97/100
 JIANBENKJDryer Vent Kit Through Wall with Hose/Duct Connector/Plate,4 Inch Stainless…$30 \xc2\xb7 97/100


Write Your Review
No reviews yet. Be the first to share your experience!